
This going to be FUN!
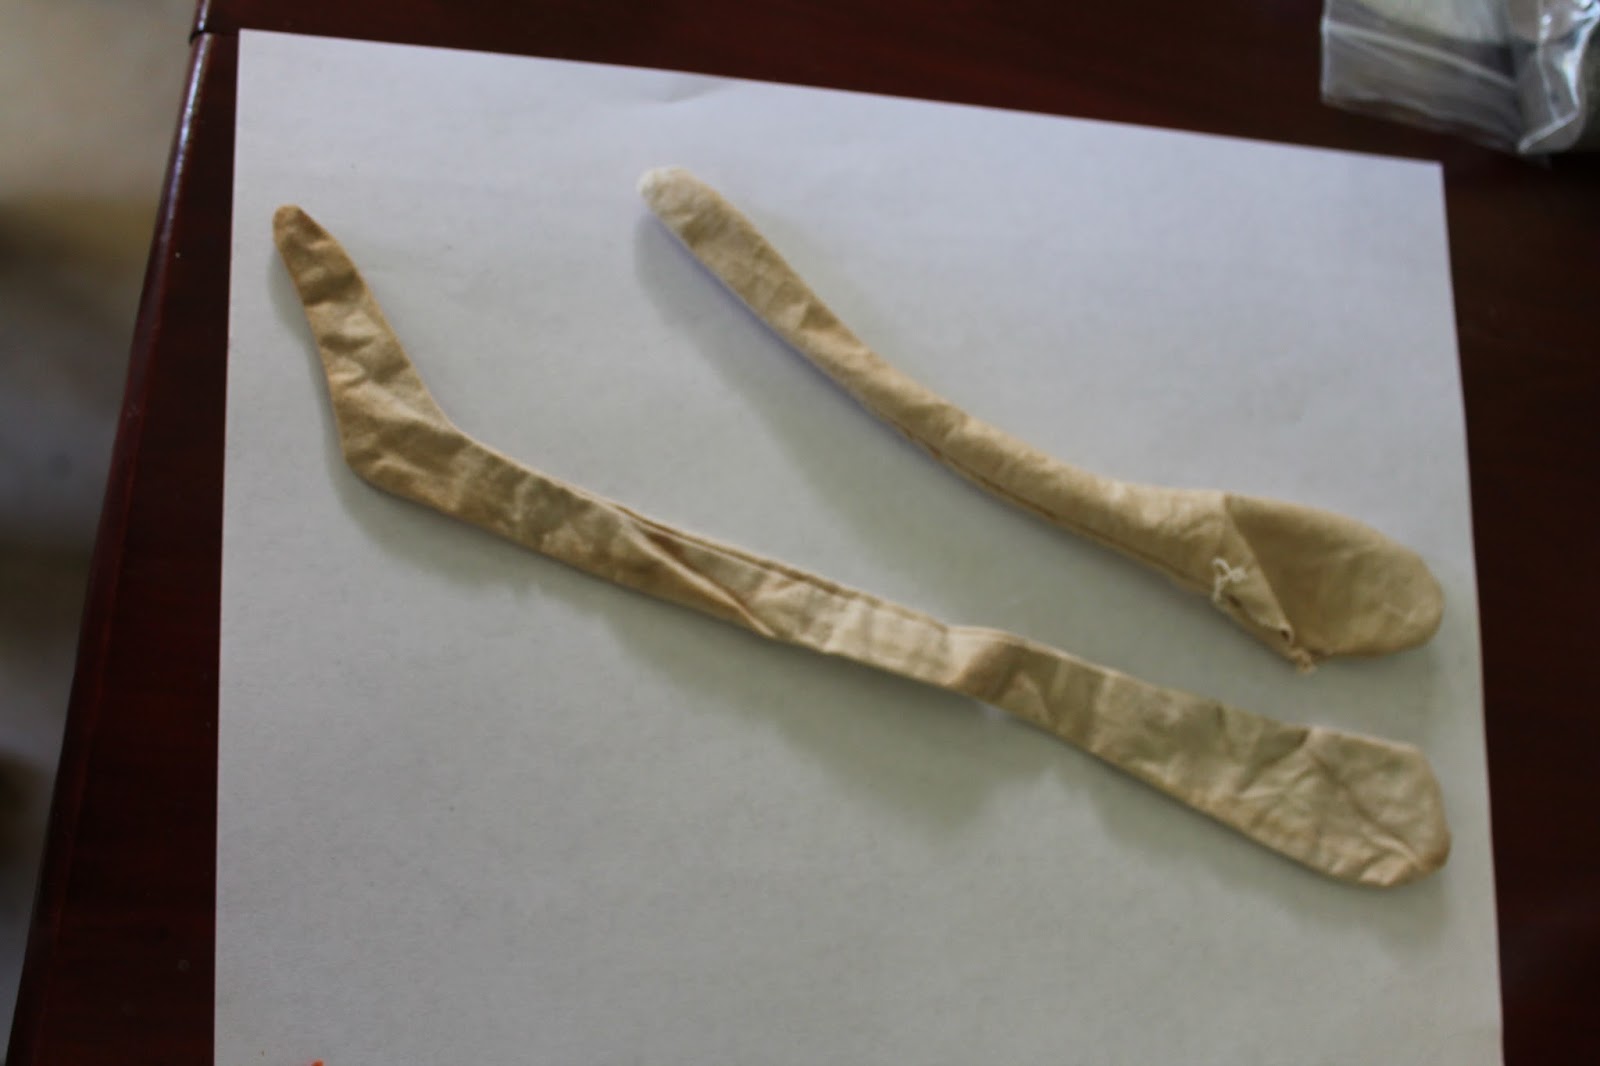
Knowledge of sewing a doll body and a doll pattern that you can alter to a rounded top of the legs and
arms as seen in the pictures. The limbs will open high on the sides to allow entry of the joint complex.

Make your doll body and legs. Mine is already tea stained and I won't be "grunging" her up other than that, but you may stain however you like!

I call the bag in the foreground an "body bag" and it is filled with several ounces of BB's (never use Iron shot as it could be ingested and damage a child who gets hold of it and pops it into their mouth). Yep, you can take the Nurse out of the hospital, but you can't take the nurse out of me!

Here is what you need for jointing with the Lock Nut1)
1) 1/4" Nut driver
2) 5/16 nutdriver
3) an Ice Pick
4) 10 fiberboard discs with 1/8 inch center hole.
One disc is already in the bottom of her head and
tightened around with a gather stitch.
5) 10 washers with a 1/8 inch hole.
6) 5 Lock-nuts
Take the head disc that the washer and bolt need to be stuck with Epoxy glue.
( I will will talk more in the future about how to do this).

Tie off your threads as tight as you can or get someone to help hold it while you make the knot.

Clip your strings.
See the rounded thigh and shoulders? Very necessary!!!

Now make sure all limbs are turned and use something like the end of a paint brush to make sure the seams are not folded.

OUCH!

The hole should look like this.

Slide the disc with the washer and bolt and insert the disc into the opening in the side of the limb.
Fiddle gently with the bolt to get the nail to go through the hole.

Continue until all four limbs have their hardware in place. You are finished for today!
Please leave a comment so I can see if my IT fixed the problem of peeps not being able to leave comments.
See you next time with more on jointing!
My Best Always
Carly
No comments:
Post a Comment